App Download Redirect Guide
This snippet detects if a visitor is on iOS or Android and automatically redirects them to the correct app store.
This guide will help you create a smart redirect page that automatically sends your visitors to the correct app store (Google Play or Apple App Store), depending on their device.
You do not need to be a developer to use this, we’ve written this guide to walk you through the steps, even if you have very limited experience editing code.
Creating a custom redirect page on your own website gives you full control over the download experience — and unlocks key benefits for your marketing and analytics efforts.
Many platforms and ad tools limit your visibility when you send users directly to the App Store or Play Store. By creating a simple redirect page on your own domain, you solve two major problems:
yourdomain.com/stores-redirect), so users see your domain in all marketing materials — not a third-party link. This builds trust and improves click-through rates, especially on QR codes and paid ads.This approach is ideal for customers who want more control, deeper insights, and a seamless experience across web and app.
The URL should look like this, where the app store links are passed as URL parameters:
https://yourdomain.com/stores-redirect/?android=https://play.google.com&ios=https://apps.apple.com
Here is our own implementation of this:
https://redirect.mobiloud.com/?android=https://play.google.com&ios=https://apps.apple.com
If you're using a CMS (like Shopify, Webflow, Squarespace, or WordPress), look for a way to add a new page and edit the HTML content directly. You should be able to paste in the code provided below.
You'll find specific guides for each at the bottom of this page
Best for: Users should be taken to the correct store instantly, without seeing any message or UI.
</body> on your page.Best for: You want to show a “Redirecting…” message, and if the redirect fails, display download badges (buttons) for each store.
<body>, near the top of your page.</body>.Paste at the end of your page, before </body>:
1<script>
2function getMobileOS() {
3  const userAgent = navigator.userAgent.toLowerCase();
4  if (/windows phone/i.test(userAgent)) return "windows";
5  if (/android/i.test(userAgent)) return "android";
6  if (/ipad|iphone|ipod/.test(userAgent) && !window.MSStream) return "ios";
7  return "desktop";
8}
9
10document.addEventListener("DOMContentLoaded", function() {
11  const urlParams = new URLSearchParams(window.location.search);
12  const iosUrl = urlParams.get('ios');
13  const androidUrl = urlParams.get('android');
14  const platform = getMobileOS();
15
16  const downloadMsg = document.getElementById("downloadMsg");
17  const redirectingMsg = document.getElementById("redirectingMsg");
18  const errorMsg = document.getElementById("errorMsg");
19  const iosBadge = document.getElementById("iosBadge");
20  const androidBadge = document.getElementById("androidBadge");
21  const isValidUrl = url => /^https?:\/\//.test(url);
22
23  function showBadges() {
24    if (![iosUrl, androidUrl].some(isValidUrl)) {
25      errorMsg?.classList.remove('hidden');
26      redirectingMsg?.classList.add('hidden');
27      return;
28    }
29    redirectingMsg?.classList.add('hidden');
30    downloadMsg?.classList.remove('hidden');
31    if (isValidUrl(iosUrl)) {
32      iosBadge?.classList.remove("hidden");
33      iosBadge.href = iosUrl;
34    }
35    if (isValidUrl(androidUrl)) {
36      androidBadge?.classList.remove("hidden");
37      androidBadge.href = androidUrl;
38    }
39  }
40
41  if (platform === "android" && isValidUrl(androidUrl)) {
42    window.location.href = androidUrl;
43  } else if (platform === "ios" && isValidUrl(iosUrl)) {
44    window.location.href = iosUrl;
45  } else {
46    showBadges();
47  }
48});
49</script>
Paste before the JavaScript snippet.
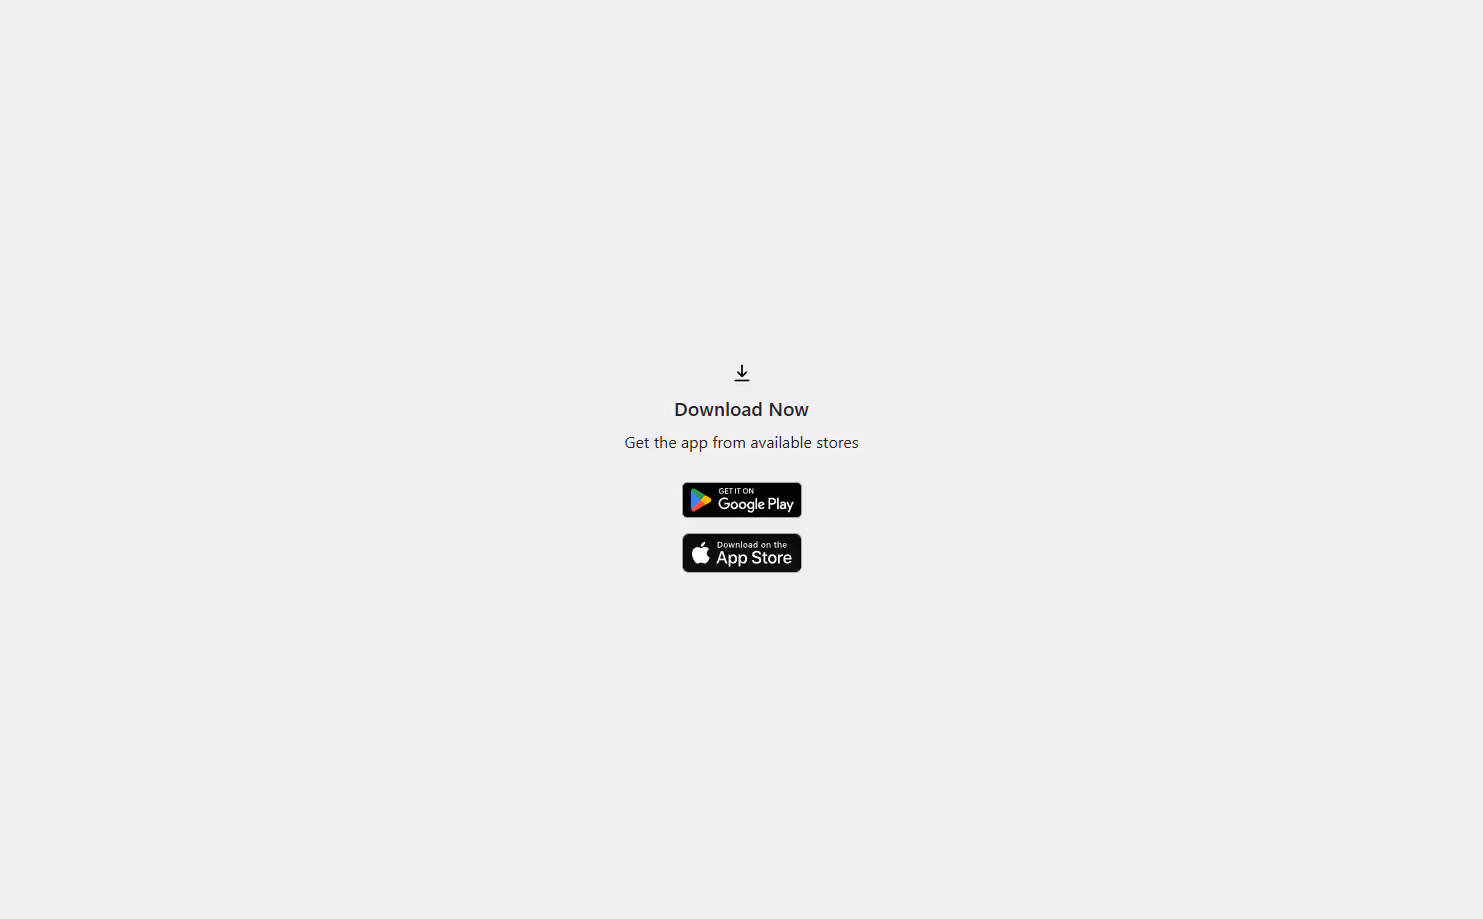
This shows the UI for “Redirecting…” and fallback badges.
1<style>html,body,div,span,applet,object,iframe,h1,h2,h3,h4,h5,h6,p,blockquote,pre,a,abbr,acronym,address,big,cite,code,del,dfn,em,img,ins,kbd,q,s,samp,small,strike,strong,sub,sup,tt,var,b,u,i,center,dl,dt,dd,ol,ul,li,fieldset,form,label,legend,table,caption,tbody,tfoot,thead,tr,th,td,article,aside,canvas,details,embed,figure,figcaption,footer,header,hgroup,menu,nav,output,ruby,section,summary,time,mark,audio,video{margin:0;padding:0;border:0;font-size:100%;font:inherit;vertical-align:baseline}article,aside,details,figcaption,figure,footer,header,hgroup,menu,nav,section{display:block}body{line-height:1}ol,ul{list-style:none}blockquote,q{quotes:none}blockquote:before,blockquote:after,q:before,q:after{content:'';content:none}table{border-collapse:collapse;border-spacing:0}a,a:visited,a:active{color:unset;text-decoration:none}.loader{width:35px;height:35px;border:5px solid #047857;border-bottom-color:transparent;border-radius:50%;display:inline-block;box-sizing:border-box;animation:rotation 1s linear infinite}@keyframes rotation{0%{transform:rotate(0deg)}100%{transform:rotate(360deg)}}html{overflow:hidden}.wrapper{display:flex;flex-direction:column;align-items:center;justify-content:center;height:100vh;padding:1em;background-color:#f0f0f0;overflow:hidden}.content{text-align:center}.content h2{font-family:system-ui,-apple-system,BlinkMacSystemFont,'Segoe UI',Roboto,Oxygen,Ubuntu,Cantarell,'Open Sans','Helvetica Neue',sans-serif;margin:1em;font-weight:500;color:#222}.hidden{display:none !important}.iconMsg{display:flex;flex-direction:column;justify-content:center;align-items:center;text-align:center;gap:1rem;color:#222;font-family:system-ui,-apple-system,BlinkMacSystemFont,'Segoe UI',Roboto,Oxygen,Ubuntu,Cantarell,'Open Sans','Helvetica Neue',sans-serif}.iconMsg h2{font-size:1.2rem;font-weight:600}.badges{margin-top:16px}.badges a{display:block;margin-bottom:0.8em;font-weight:500}#iconMsg .download-icon path{fill:#047857}.ml-button{border-radius:10px;padding:1em 2em;background-color:black;color:white !important;width:100%}</style>
2
3<div class="wrapper">
4  <div class="content" id="redirectingMsg">
5    <h2>Redirecting...</h2>
6    <span class="loader"></span>
7  </div>
8
9  <div id="downloadMsg" class="iconMsg hidden">
10    <svg class="download-icon" width="20" height="20" viewBox="0 0 24 24"><path d="M7.70711 10.2929L11 13.5858V3a1 1 0 0 1 2 0v10.5858l3.2929-3.2929a1 1 0 1 1 1.4142 1.4142l-5 5a1 1 0 0 1-1.4142 0l-5-5a1 1 0 0 1 1.4142-1.4142Z" fill="#000"/><path d="M4 22a1 1 0 0 1 0-2h16a1 1 0 0 1 0 2H4Z" fill="#000"/></svg>
11    <h2>Download Now</h2>
12    <p>Get the app from available stores</p>
13    <div class="badges">
14      <a class="hidden" id="androidBadge" href=""><img src="https://upload.wikimedia.org/wikipedia/commons/7/78/Google_Play_Store_badge_EN.svg" width="120"></a>
15      <a class="hidden" id="iosBadge" href=""><img src="https://developer.apple.com/assets/elements/badges/download-on-the-app-store.svg" width="120"></a>
16    </div>
17  </div>
18
19  <div id="errorMsg" class="iconMsg hidden">
20    <svg width="20" height="20" fill="#047857" viewBox="0 0 512 512"><path d="M256 512A256 256 0 1 0 256 0a256 256 0 1 0 0 512zm0-384c13.3 0 24 10.7 24 24V264c0 13.3-10.7 24-24 24s-24-10.7-24-24V152c0-13.3 10.7-24 24-24zM224 352a32 32 0 1 1 64 0 32 32 0 1 1 -64 0z"/></svg>
21    <p>There was an error while trying to redirect</p>
22  </div>
23</div>
24
Click here for a detailed step by step guide
stores-redirect< >) in the editor toolbarhttps://yourstore.com/pages/stores-redirectstores-edirectYou can use plugins like Insert Headers and Footers or WPCode to insert JavaScript into your site if needed.
stores-redirect✅ Make sure “Custom Code” is enabled in your site settings (requires paid plan).
Squarespace doesn’t support full JavaScript execution in content blocks on all plans, so Option 2 (with fallback UI) is recommended only if your plan supports code injection.
stores-redirect✅ Note: Full code blocks only work on Business or Commerce plans.