After your app is live and users are using it, you will want to send notifications to engage users and take them to your latest content in the app.
In this guide, we will cover the basics of sending notifications directly from your OneSignal Dashboard, but keep in mind that you also have the option of sending the notifications directly from your WordPress Dashboard.
To get started access your OneSignal account through the following URL: https://app.onesignal.com/login
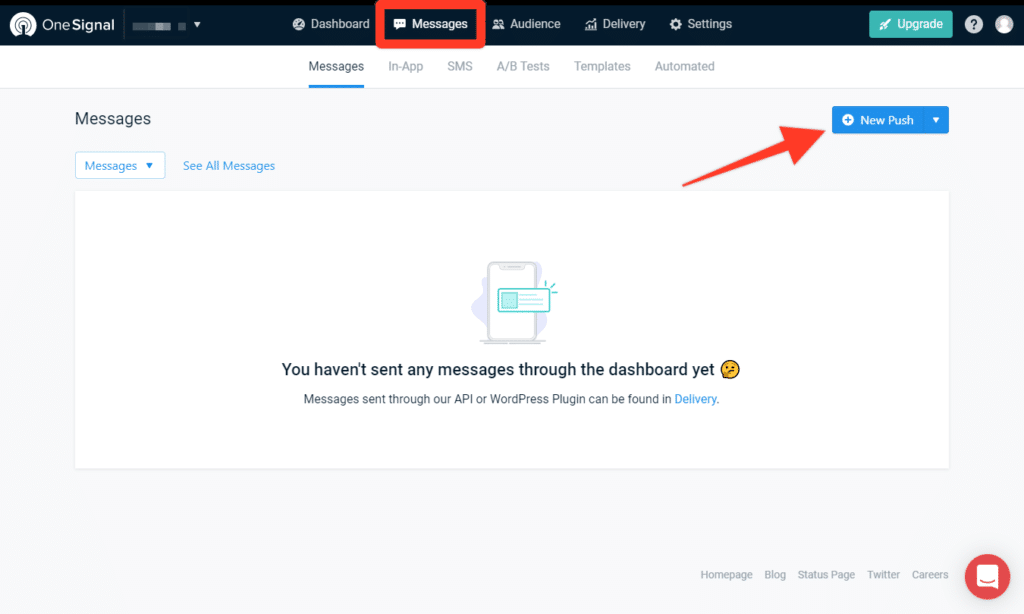
Now that you are in your account, make sure to select the Mobile App that you previously created, then access the “Messages” area and click on “New Push” as you can see below:
You will be presented with several options to customize your push notification, as well as a preview tool to see exactly how the notification looks like on iOS and Android:

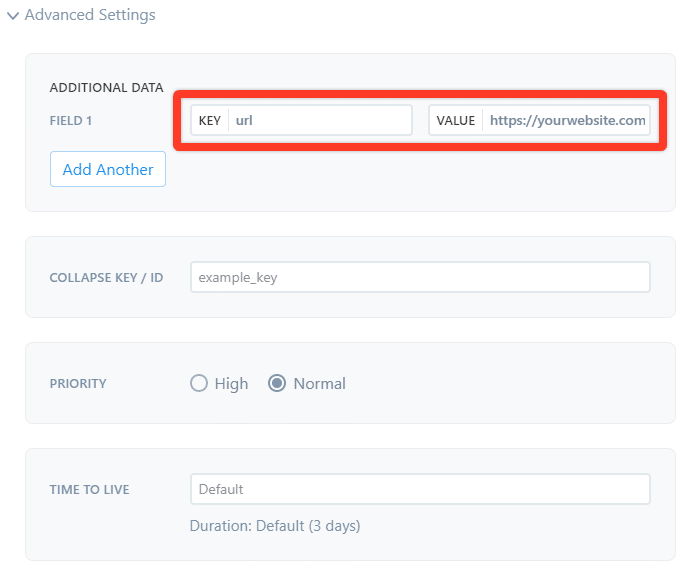
There is one key aspect when sending notifications from your OneSignal Dashboard to the MobiLoud Platform, the “Launch URL” field must always be empty, and you must use the “Additional Data” area to specify the URL that must be opened when users click on the notification.
Under the “Additional Data” area you will have two fields to fill, these must be filled different depending on the platform you are using.
You will need to fill the “Key” field with “url” and the “Value” field with the URL that must be opened (e.g. https://yourwebsite.com)
You can now proceed with sending the notification, make sure to select the best sending method, if you are sending breaking news mark the “Send Immediately” option, otherwise we’d recommend using the “Smart Delivery”.
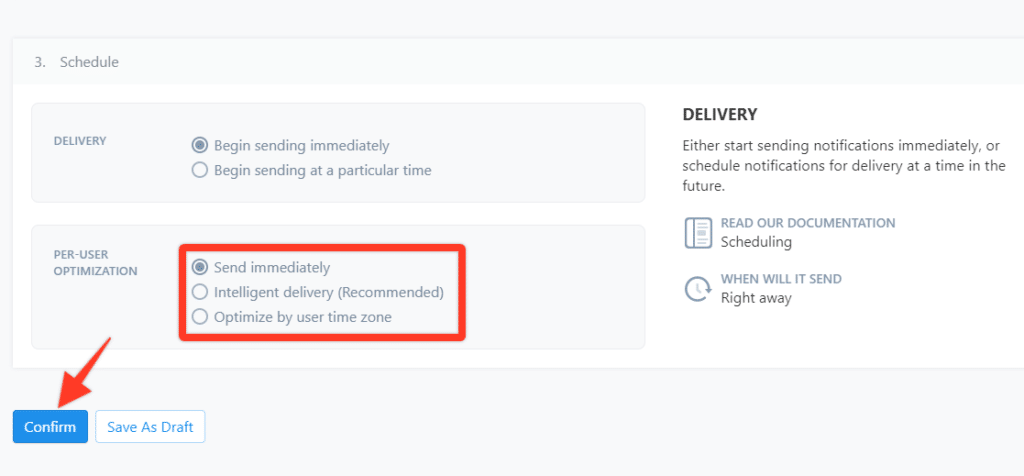
Just press “Confirm” to start sending the notifications.
